
Whether you’re renovating your bathroom, creating more space, or simply updating the layout, learning how to move a bathroom sink is a valuable skill that can save you hundreds of pounds on professional labour costs. Relocating a bathroom sink might seem intimidating at first, but with the right tools, careful planning, and a bit of patience, it’s a project many confident DIY enthusiasts can tackle over a weekend.
In this comprehensive guide, we’ll walk you through everything you need to know about moving a bathroom sink — from initial planning and permits to the final installation and testing.
Why Would You Want to Move a Bathroom Sink?
Before diving into the how-to, let’s explore the common reasons homeowners decide to relocate their bathroom sink:
- Bathroom renovation or remodel — A new layout often requires a new sink position.
- Improved functionality — Moving the sink can create better traffic flow and usability.
- Space optimisation — Repositioning the sink can free up room for storage or a larger shower.
- Accessibility needs — Adjusting the sink height or location for elderly family members or those with mobility challenges.
- Aesthetic upgrade — Sometimes a simple shift in placement can dramatically transform the look of your bathroom.
Whatever your reason, proper planning is the key to a successful sink relocation.
Tools and Materials You’ll Need
Before you begin, gather the following tools and materials to ensure a smooth process:
- Adjustable wrench and pipe wrench
- Basin wrench
- Hacksaw or pipe cutter
- Screwdriver set (flathead and Phillips)
- Tape measure
- Level
- Plumber’s tape (PTFE tape)
- PVC pipes and fittings
- Flexible supply lines
- Silicone sealant or plumber’s putty
- Bucket and towels
- New shut-off valves (if needed)
- Drywall repair kit (if applicable)
- Safety goggles and gloves
Having everything prepared ahead of time prevents frustrating mid-project trips to the hardware store.
Step 1: Plan the New Location Carefully
The most critical phase of moving a bathroom sink is planning the new location. Consider the following:
Proximity to existing plumbing: The closer the new position is to the current water supply and drain lines, the easier and cheaper the job will be. Moving a sink just a few feet along the same wall is far simpler than relocating it to the opposite side of the room.
Building codes and permits: Depending on where you live, you may need a permit to modify your plumbing. Check with your local council or building authority before starting any work. Failing to comply with regulations can create problems when you try to sell your home later.
Ventilation and drainage slope: Drain pipes must maintain a proper slope — typically around 1/4 inch per foot — to ensure water flows correctly towards the main drain. Without adequate slope, you’ll face slow drainage and potential blockages.
Structural considerations: Check for joists, studs, and electrical wiring behind the wall where you plan to install the new sink. Use a stud finder and, if necessary, cut a small inspection hole to see what’s behind the wall.
Step 2: Turn Off the Water Supply
Safety first. Before you disconnect anything, turn off the water supply to the bathroom sink. Locate the shut-off valves beneath the sink and turn them clockwise until they’re fully closed. If your sink doesn’t have individual shut-off valves, you’ll need to turn off the main water supply for the house.
Once the valves are closed, turn on the faucet to release any remaining water pressure and drain the lines. Place a bucket underneath the connections to catch any residual water.
Step 3: Disconnect the Existing Sink
Now it’s time to carefully remove the sink from its current location:
- Disconnect the supply lines — Use an adjustable wrench to loosen the nuts connecting the hot and cold water supply lines to the faucet.
- Disconnect the drain — Unscrew the slip nut connecting the P-trap to the sink’s drain tailpiece. Have your bucket ready, as water will still be sitting in the P-trap.
- Remove the faucet — If you’re reusing the faucet, carefully detach it from the sink using a basin wrench.
- Detach the sink from the wall or vanity — Pedestal sinks are usually bolted to the wall, while vanity sinks may be secured with clips or adhesive. Remove all fasteners and carefully lift the sink away.
- Cap the open pipes — Temporarily cap both the water supply lines and the drain pipe to prevent leaks and sewer gases from entering your home.
Step 4: Extend or Reroute the Plumbing
This is the most technically demanding part of the project. You need to extend the water supply lines and the drain pipe to the new location.
For the water supply lines:
- Measure the distance from the existing supply lines to the new sink location.
- Cut and fit new copper or PEX tubing to extend the hot and cold lines.
- Use appropriate fittings and connectors to join the new sections to the existing pipes.
- Install new shut-off valves at the new location.
For the drain line:
- Extend the existing drain pipe using PVC pipe and fittings.
- Maintain the correct slope (1/4 inch drop per foot of horizontal run) to ensure proper drainage.
- Connect a new P-trap assembly at the new sink location.
- Ensure the drain connects properly to the existing vent stack. If the new location is too far from the vent, you may need to install an air admittance valve (AAV) to prevent gurgling and slow drainage.
Pro tip: If you’re uncomfortable working with plumbing, especially if the project involves soldering copper pipes or connecting to the main stack, hiring a licensed plumber for this step alone can be a smart investment.
Step 5: Repair the Old Location
Once the plumbing has been rerouted, you’ll need to patch and repair the area where the old sink was located:
- Cap off any unused pipes behind the wall permanently.
- Repair holes in the drywall using a drywall patch kit, joint compound, and sanding.
- Repaint or retile the area to match the rest of the bathroom.
- If the old sink was a pedestal or wall-mounted model, fill and smooth over the bolt holes in the wall.
A clean repair job ensures your bathroom looks polished and professional when the project is complete.
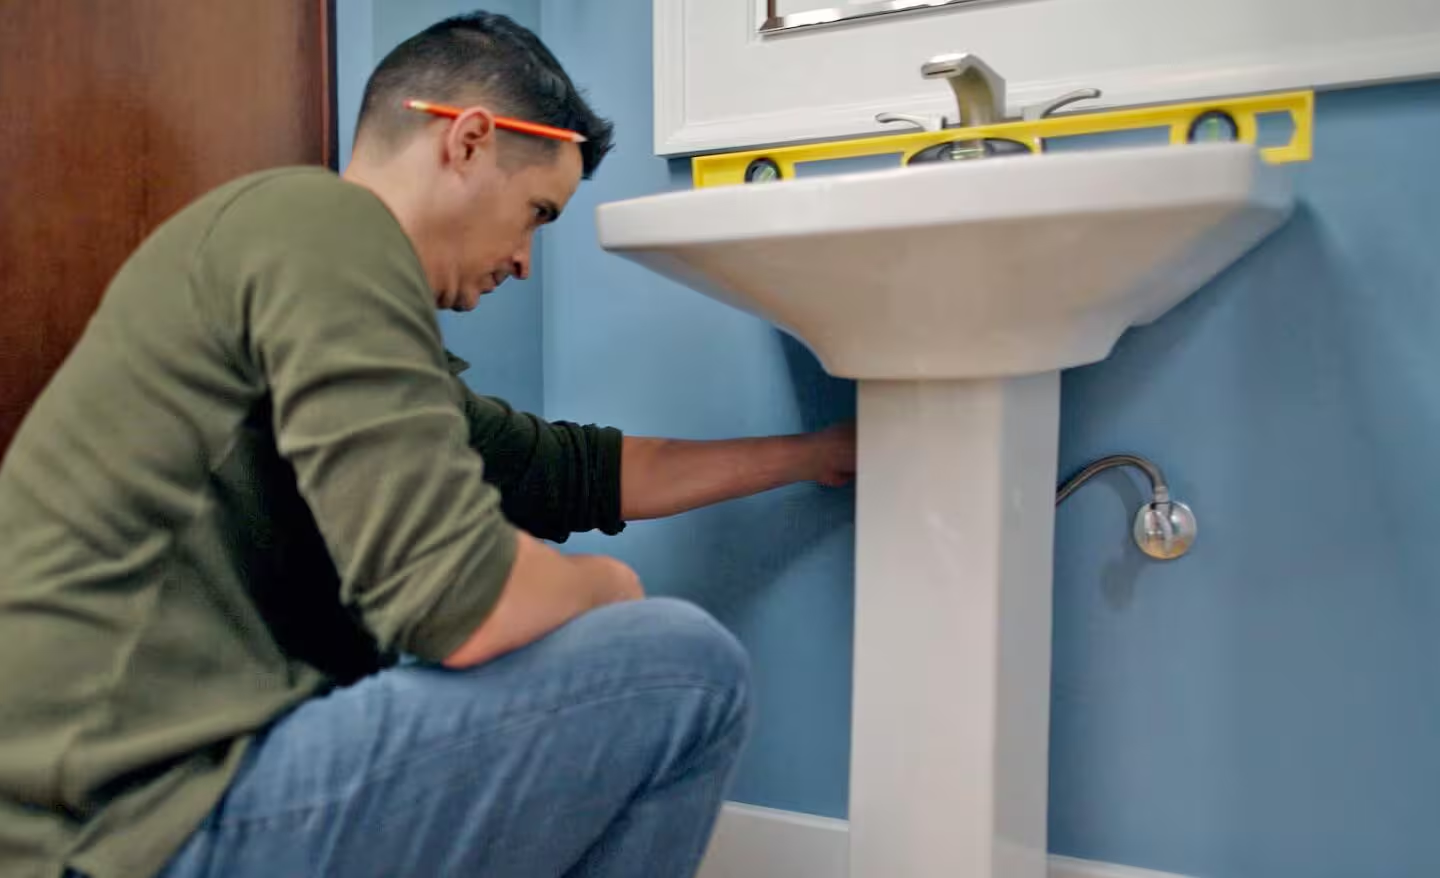
Step 6: Install the Sink in the New Location
With the plumbing in place, it’s time to install the sink at its new position:
- Mark the mounting points — Hold the sink or vanity against the wall and use a level to ensure it’s perfectly straight. Mark the locations for mounting brackets or screws.
- Secure the mounting hardware — Drill pilot holes and install wall anchors or screw directly into studs for maximum support.
- Place the sink — Carefully position the sink onto the mounting brackets or into the vanity countertop.
- Install the faucet — Attach the faucet to the sink, following the manufacturer’s instructions. Use plumber’s putty or the included gaskets to create a watertight seal.
- Connect the supply lines — Attach the flexible supply lines from the shut-off valves to the faucet. Hand-tighten first, then give a quarter turn with a wrench. Avoid over-tightening, which can crack fittings.
- Connect the drain — Assemble the P-trap and connect the sink’s drain tailpiece to the drainpipe in the wall. Use slip nuts and washers for a secure, leak-free connection.
- Apply sealant — Run a bead of silicone caulk around the base of the sink where it meets the wall or countertop to prevent water from seeping behind it.
Step 7: Test Everything Thoroughly
Before you celebrate, you need to test the installation for leaks and proper function:
- Slowly turn the shut-off valves back on.
- Let both hot and cold water run for several minutes.
- Check every connection point — supply lines, faucet base, drain, and P-trap — for drips or leaks.
- Fill the sink with water and then release it all at once to test the drainage speed.
- Inspect beneath the sink and behind the wall (if accessible) for any signs of moisture.
If you spot any leaks, tighten the affected connections slightly or reapply plumber’s tape. It’s much easier to fix a small drip now than to deal with water damage later.
Common Mistakes to Avoid
- Ignoring building codes — Always check local regulations before modifying plumbing.
- Incorrect drain slope — A drain that’s too flat or too steep will cause problems.
- Skipping the vent — Proper venting is essential for drainage performance.
- Over-tightening fittings — This cracks plastic fittings and strips threads.
- Rushing the project — Take your time to measure twice and cut once.
How Much Does It Cost to Move a Bathroom Sink?
The cost of moving a bathroom sink varies depending on the distance, complexity, and whether you hire a professional. Here’s a rough breakdown:
| Factor | DIY Cost | Professional Cost |
| Plumbing materials | £50 – £150 | Included |
| New sink/faucet (optional) | £80 – £500+ | £80 – £500+ |
| Labour | Free | £200 – £800+ |
| Permits (if needed) | £50 – £150 | £50 – £150 |
| Total estimate | £100 – £400 | £400 – £1,500+ |
As you can see, doing it yourself can save a significant amount of money, provided you have the skills and confidence to do the job safely.
Conclusion
Moving a bathroom sink is a manageable DIY project when you approach it with thorough planning, the right tools, and a respect for plumbing fundamentals. From shutting off the water supply and disconnecting the old sink to rerouting pipes and testing the new installation, each step plays a vital role in achieving a professional-quality result. Whether you’re upgrading your bathroom layout for practicality or aesthetics, this project can add real value and comfort to your home.
If you’re looking for more expert guidance on home improvement projects like this, be sure to visit homecomfortexperts.co.uk — your go-to resource for free, practical home improvement tips, plumbing tips and tricks, and so much more. Home Comfort Experts is dedicated to helping homeowners tackle everything from basic plumbing repairs to full bathroom renovations with confidence. What makes them truly unique is their collection of home décor ideas inspired by celebrity homes, giving you stylish, aspirational design concepts that you can adapt to your own space — all completely free of charge. Whether you need step-by-step plumbing advice or want to transform your interiors with A-list inspiration, Home Comfort Experts has you covered.