
Whether you’re renovating your bathroom, creating more space, or simply updating the layout, learning how to move a bathroom sink is a valuable skill that can save you hundreds of pounds on professional labour costs.
Relocating a bathroom sink might seem intimidating at first, but with the right tools, careful planning, and a bit of patience, it’s a project many confident DIY enthusiasts can tackle over a weekend.
In this comprehensive guide, you’ll learn everything you need to know—from planning and permits to installation and testing.
Why Move a Bathroom Sink?
Before starting, it’s important to understand why homeowners choose to relocate their sink:
Bathroom renovation or remodel – New layouts often require repositioning fixtures
Improved functionality – Better flow and usability
Space optimisation – More room for storage or fixtures
Accessibility needs – Easier use for elderly or disabled individuals
Aesthetic upgrade – A new position can transform the entire look
Proper planning is key regardless of your reason.
Tools and Materials You’ll Need
Gather these tools before starting:
Essential Tools
Adjustable wrench and pipe wrench
Basin wrench
Hacksaw or pipe cutter
Screwdriver set
Tape measure
Level
Materials
PTFE (plumber’s) tape
PVC pipes and fittings
Flexible supply lines
Silicone sealant or plumber’s putty
Bucket and towels
Shut-off valves (if needed)
Drywall repair kit
Safety gloves and goggles
Step 1: Plan the New Sink Location
Check Plumbing Distance
Keep the new sink close to existing pipes to reduce cost and complexity.
Follow Building Codes
Check local regulations before starting. Permits may be required.
Maintain Drain Slope
Ensure a proper slope of about 1/4 inch per foot for drainage.
Inspect Wall Structure
Look for studs, joists, and wiring before cutting into walls.
Step 2: Turn Off the Water Supply
Shut off valves under the sink
If unavailable, turn off the main water supply
Open the tap to release pressure
Place a bucket to catch leftover water
Step 3: Disconnect the Existing Sink
Remove Water Supply Lines
Use a wrench to disconnect hot and cold lines.
Disconnect Drain Pipe
Unscrew the P-trap and drain connections.
Remove Faucet (Optional)
Detach carefully if you plan to reuse it.
Detach Sink from Wall or Vanity
Remove bolts or adhesive and lift the sink.
Cap Open Pipes
Seal pipes temporarily to prevent leaks or odors.
Step 4: Extend or Reroute Plumbing
This is the most technical step.
Water Supply Lines
Measure distance
Extend pipes using PEX or copper
Install new shut-off valves
Drain Line
Extend using PVC pipes
Maintain proper slope
Install new P-trap
Ensure proper venting (use AAV if needed)
Tip: If unsure, hire a professional plumber for this step.
Step 5: Repair the Old Sink Area
Permanently cap unused pipes
Patch drywall holes
Repaint or retile
Fill mounting holes
A clean finish improves the final look.
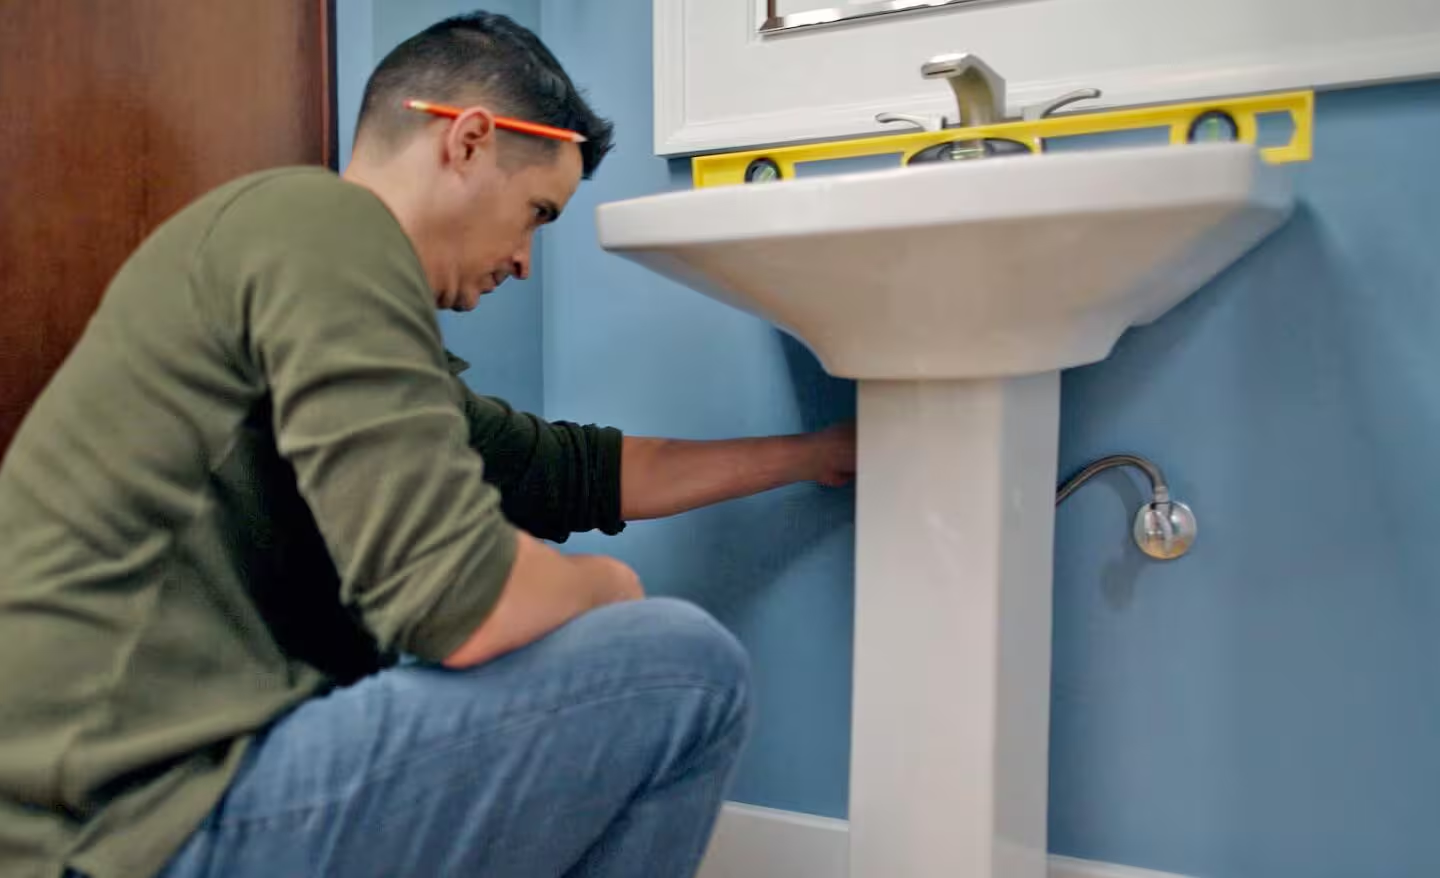
Step 6: Install the Sink in the New Location
Mount the Sink
Mark positions
Use level
Secure brackets or anchors
Install Faucet
Attach using putty or gasket
Follow manufacturer instructions
Connect Water Supply
Attach flexible lines
Avoid over-tightening
Connect Drain
Install P-trap
Secure connections
Seal Edges
Apply silicone around edges to prevent leaks.
Step 7: Test the Installation
Turn water back on slowly
Check all connections for leaks
Run water for several minutes
Test drainage performance
Inspect under sink for moisture
Common Mistakes to Avoid
Ignoring building codes
Incorrect drain slope
Poor venting
Over-tightening fittings
Rushing the process
Cost of Moving a Bathroom Sink
| Factor | DIY Cost | Professional Cost |
|---|---|---|
| Plumbing materials | £50 – £150 | Included |
| New sink/faucet | £80 – £500+ | £80 – £500+ |
| Labour | Free | £200 – £800+ |
| Permits | £50 – £150 | £50 – £150 |
| Total Estimate | £100 – £400 | £400 – £1,500+ |
DIY saves money but requires skill and patience.
Conclusion
Moving a bathroom sink is a practical DIY project when approached with proper planning and the right tools. Each step—from shutting off the water to testing the final installation—plays a critical role in achieving a professional result.
If done correctly, this project not only improves functionality but also enhances the overall look and value of your bathroom.